How to Create ASP.NET Core Web API with Swagger
Creating an API might seem challenging at first, but with ASP.NET Core and Swagger, it’s actually quite easy. In this step-by-step guide, we’ll build a simple Web API from scratch using .NET 6.0 and Visual Studio 2022, and we’ll explore how Swagger can simplify testing and documentation. Whether you’re new to ASP.NET Core, this tutorial is for you.
Before diving into the code, let’s make sure you have everything set up.
Prerequisites
- Visual Studio 2022 installed.
- .NET 6.0 SDK.
Once you have these ready, let’s get started!
Step 1: Setting Up Your Project
- Create a New Project
- Open Visual Studio 2022.
- Go to File > New > Project.
- Choose ASP.NET Core Web API from the available templates.
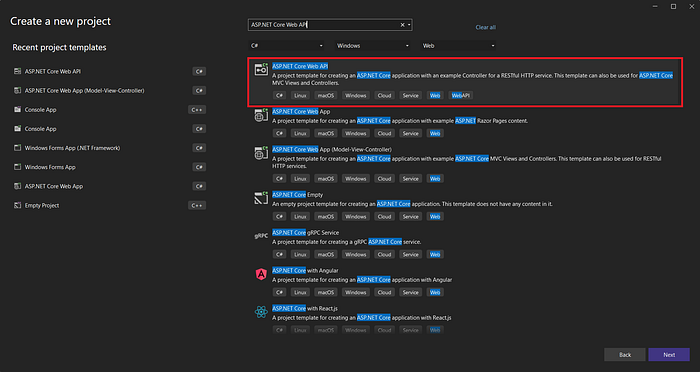
- Name your project “TestWebApi”.
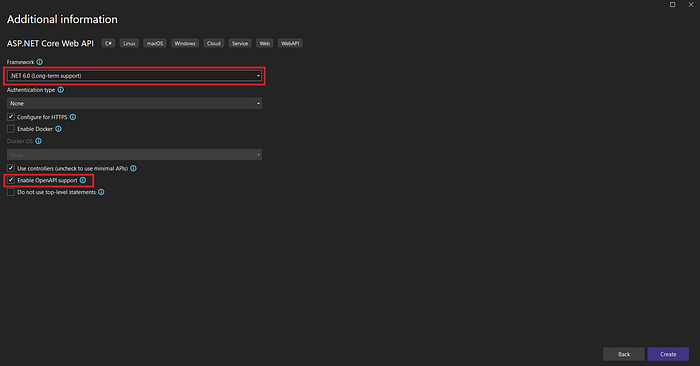
- Select .NET 6.0 (Long-term support) as the target framework.
- Make sure the Enable OpenAPI support option is checked. This setting will automatically integrate Swagger into your project, saving you from additional setup.
2. Understanding the Project Structure
Once your project is created, you’ll notice several folders and files. The key ones for as follows.
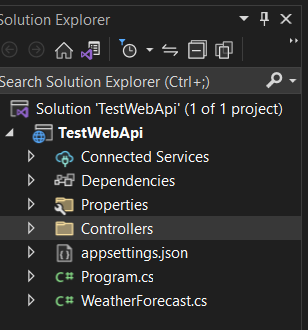
- Controllers: This is where you’ll define the logic to handle incoming HTTP requests.
Step 2: Defining the Student Model
In this API, we’ll work with a simple model representing students. A model in ASP.NET Core is a class that defines the properties of the data we’ll be handling.
Models - This is where you’ll define the structure of the data your API will work with.
- Create the “Student” Model
- Right-click on the project name in the solution explore and select Add> New Folder.
- Name the folder “Models”.
- Right-click on the “Models” folder and select Add > Class.
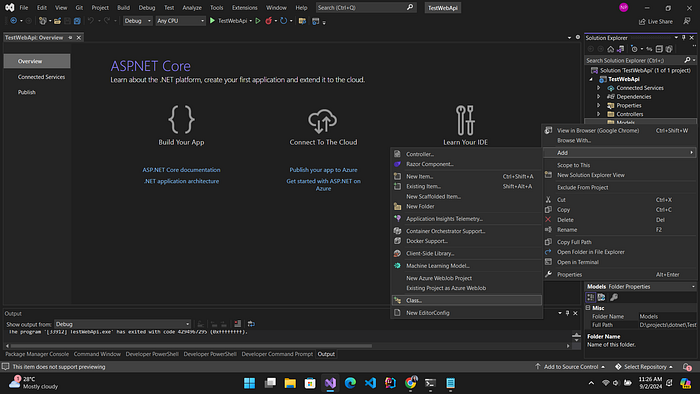
- Name the class “Student.cs”.
- Add the following code to define the structure of a student.
namespace TestWebApi.Models
{
    public class Student
    {
        public int Id { get; set; }
        public string FirstName { get; set; }
        public string LastName { get; set; }
        public int Age { get; set; }
        public string City { get; set; }
    }
}
This class will act as our blueprint for creating and managing students in our API.
Step 3: Creating the StudentsController
Controllers in ASP.NET Core are responsible for handling requests, processing them, and returning responses. Let’s create a “StudentsController” to manage our students.
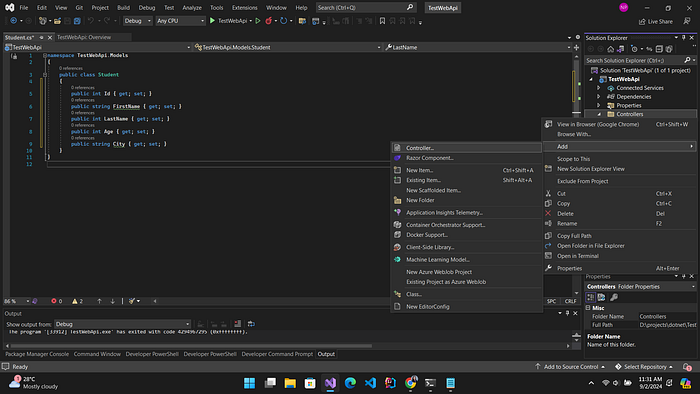
- Add a Controller
- Right-click on the “Controllers” folder and select Add > Controller.
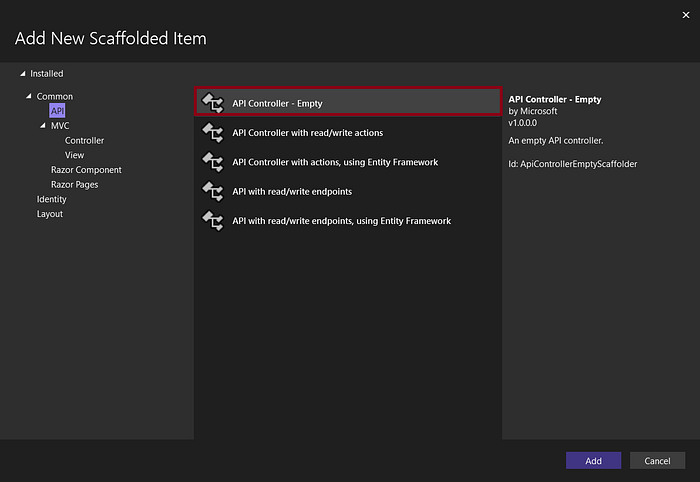
- Choose API Controller — Empty and name it “StudentsController”.
2. Implement the Controller Logic
Replace the code in StudentsController.cs with the following,
using Microsoft.AspNetCore.Http;
using Microsoft.AspNetCore.Mvc;
using TestWebApi.Models;

namespace TestWebApi.Controllers
{
    [Route("api/[controller]")]
    [ApiController]
    public class StudentsController : ControllerBase
    {
        public static List<Student> students = new()
        {
            new Student { Id=1, FirstName="Tom", LastName="Starlen", Age=17, City= "Negambo"},
            new Student { Id=2, FirstName="Ann", LastName="Mary", Age=15, City= "Colombo"},
            new Student { Id=3, FirstName="Peter", LastName="Silva", Age=17, City= "Mount-Lavinea"}
        };

        [HttpGet]
        public IActionResult GetAllStudents()
        {
            return Ok(students);
        }

        [HttpGet("{id}")]
        public IActionResult GetStudent(int id)
        {
            var student = students.Find(x=> x.Id == id);
            if(student == null)
            {
                return NotFound("Student not found");
            }
            return Ok(student);
        }

        [HttpPost]
        public IActionResult CreateStudent(Student student)
        {
            students.Add(student);
            return Ok(student);
        }

        [HttpPut]
        public IActionResult UpdateStudent(Student student)
        {
            var studentInList = students.Find(x=> x.Id == student.Id);
            if(student == null){
                return NotFound("Invalid student details");
            }
            studentInList.FirstName = student.FirstName;
            studentInList.LastName = student.LastName;
            studentInList.Age = student.Age;
            studentInList.City = student.City;
            return Ok(studentInList);
        }

        [HttpDelete]
        public IActionResult DeleteStudent(int id)
        {
            var student = students.Find(x=> x.Id == id);
            if(student == null)
            {
                return NotFound("Invalid student details");
            }
            students.Remove(student);
            return Ok(students);
        }

    }
}
Data Storage: We’re using a static list called “students” to store our data, simulating a database. Each “Student” object represents a student.
Endpoints
- “GetAllStudents” — Retrieves the list of all students. The preceding code is an HTTP GET method, as indicated by the “[HttpGet]” attribute
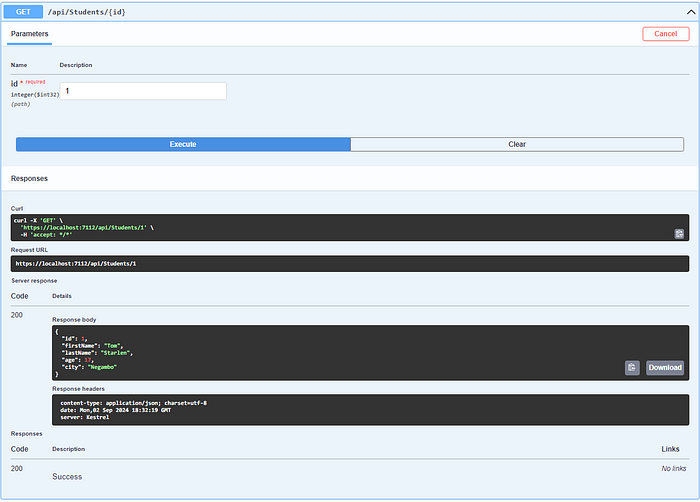
- “GetStudent” — Retrieves a specific student by their ID. [HttpGet(“{id}”)] attribute decorates the “GetStudent” method, indicating that it responds to HTTP GET requests. The “{id}” part specifies that this method expects an ID parameter in the URL. For example, a request to api/Students/1 would invoke this method with the id equal to 1.
- “CreateStudent” — Adds a new student to our list. The preceding code is an HTTP POST method, as indicated by the “[HttpPost]” attribute
- “UpdateStudent” — Updates an existing student's information. The “[HttpPut]” attribute specifies that this method will handle PUT requests. It first finds the student by their Id. If found, it updates the student’s details with the new data. If the student isn’t found, it returns a 404 Not Found response.
- “DeleteStudent” — Removes a student from the list by their ID. The “[HttpDelete]” attribute specifies that this method will handle DELETE requests.
Step 4: Running the Application
Now that your API is set up, it’s time to run the application and see it in action.
Build and Run the Project
- Press “F5” to build and launch the project.
- Visual Studio will open a browser window with the Swagger UI. Swagger provides a visual interface to interact with your API. You’ll see all your endpoints listed under the “Students” section.
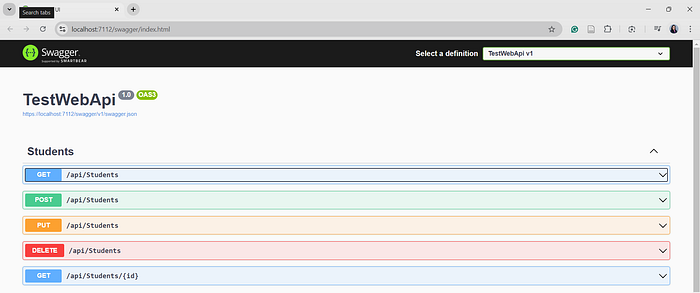
Step 5: Interacting with Your API Using Swagger
Swagger not only documents your API but also allows you to test it directly in the browser.
- Testing the Endpoints
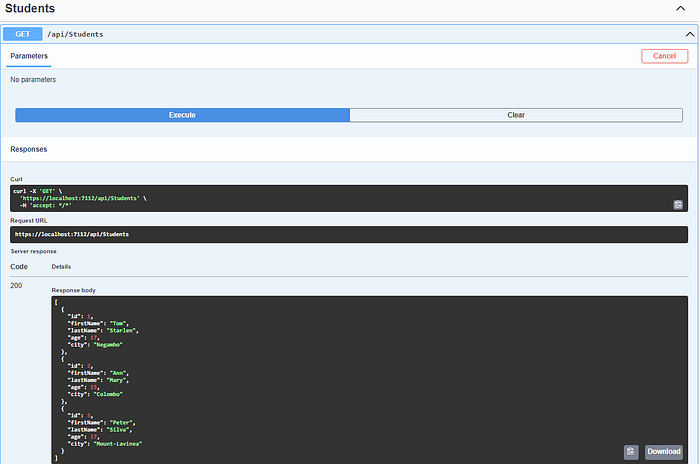
- In the Swagger UI, expand the “GET /api/Students” endpoint.
- Click Try it out and then Execute. You should see a JSON array containing all the students.
- Expand the “GET /api/Students/{id}” endpoint.
2. Adding a New Student
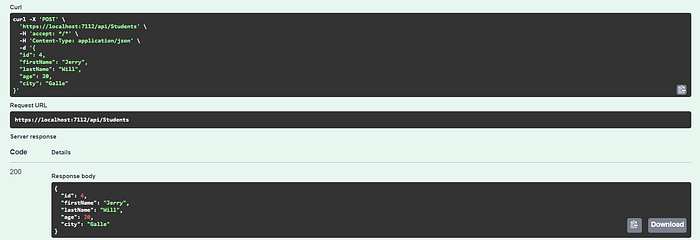
- Expand the “POST /api/Students” endpoint.
- Click Try it out and enter the student details in JSON format:
{
    "id": 4,
    "firstName": "Jerry",
    "lastName": "Will",
    "age": 20,
    "city": "Galle"
}- Click Execute to add the new student. The student will be added to the list, and you’ll see the response containing the student details.
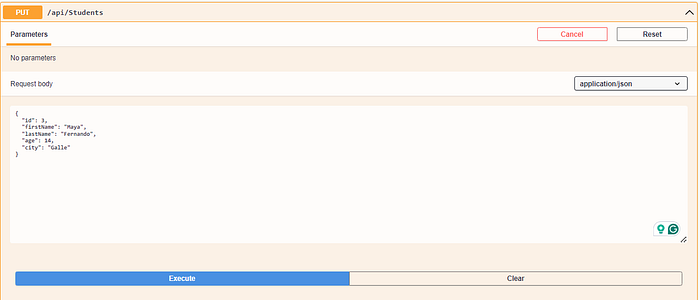
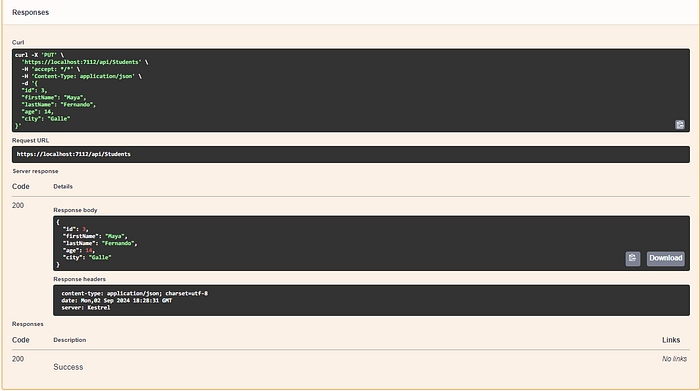
3. Updating a Student
- To update a student’s information, use the “PUT /api/Students” endpoint.
- Provide the updated details in JSON format and click Execute.
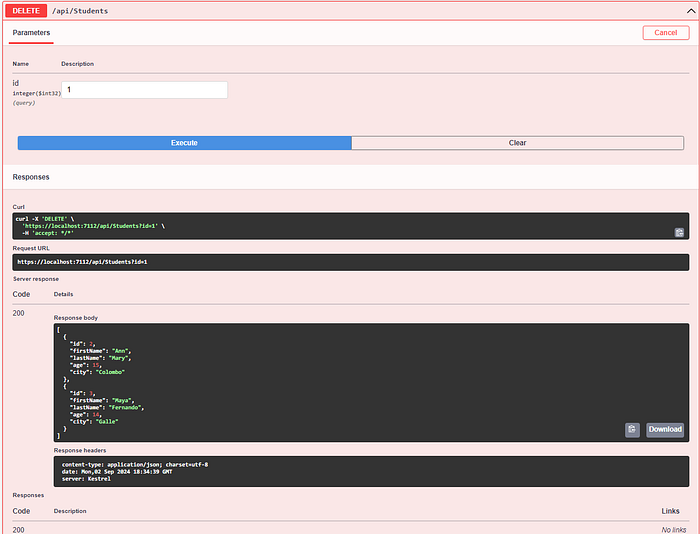
4. Deleting a Student:
- To delete a student, use the “DELETE /api/Students” endpoint.
- Enter the student’s ID and click Execute. The student will be removed from the list.
Conclusion
In this tutorial, we walked through creating a basic ASP.NET Core Web API with .NET 6.0 using Visual Studio 2022. We implemented a simple Student model and created a StudentsController to manage our data. Finally, we explored how to use Swagger to test our API endpoints.
This setup is just the beginning. With these fundamentals, you can now expand your API with more complex features, integrate a real database, and even deploy it to the cloud. Swagger is an invaluable tool in your development workflow, making it easy to test, document, and share your API with others.
Happy coding! ❤️